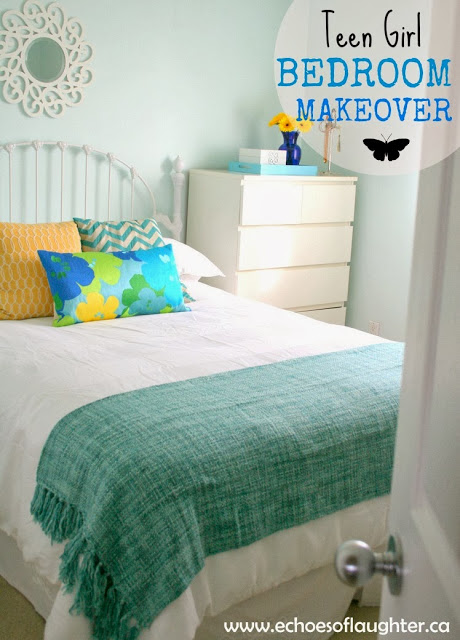
Our kids are of an age now where they are interested in helping with a room makeover, so I had them both busy helping either painting themselves {my daughter} or helping {my son}. Here, Tyler is getting a lesson in rolling before Mom gets up on the ladder to cut in. I think painting a room is a life skill, don’t you?
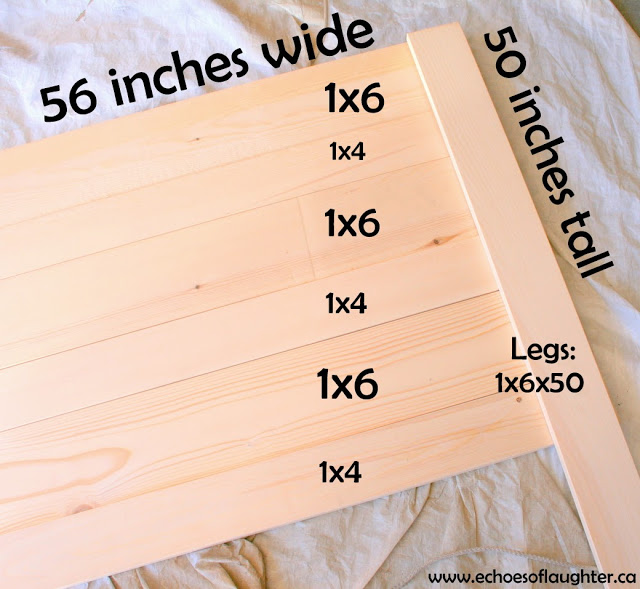
I decided to stagger 1×6 pieces with 1×4 pieces just to add interest to the headboard, and here is the final design I came up with. {And really, any home handyman could have designed this..it’s that easy.} And it’s designed so that everything is screwed from the back of the headboard so the front shows nice and clean. And if you have access to old, weathered boards to use instead, go for it!
Step 4. And then I went off to the local lumberyard with my supply list, and to make things super easy, I had the lumber yard cut everything for me! Yay me!
Supply List: {Boards are pine boards.}
2-1x6x50 inches {legs}
3-1x6x56 inches {headboard}
3-1×4-56 inches {headboard}
1-1×6-26 inches-{brace for headboard}
1 1/2 inch wood screws
Cost: Under $40 {$38.42}
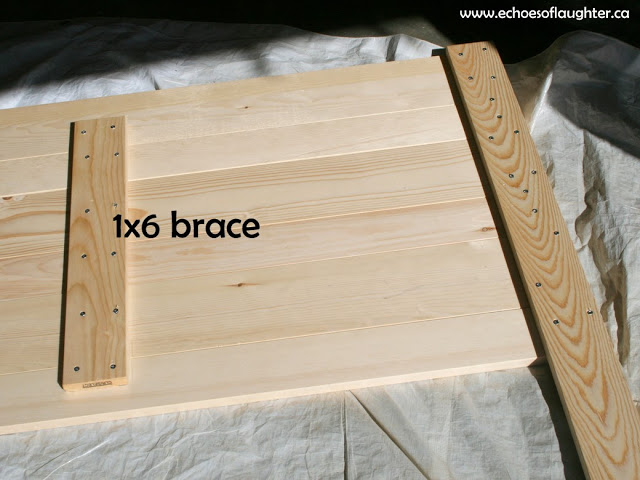
Step 5. Lay everything out as shown, making sure everything is square before fastening together. If the pine boards have some knots or imperfections, they can go either on the front or back of the headboard…depending on how rustic you would like it to look.
Step 6. Fasten everything together on the back of the headboard with a drill and wood screws…being careful that the wood screws don’t show on the front side.{Pictured below is the back.}
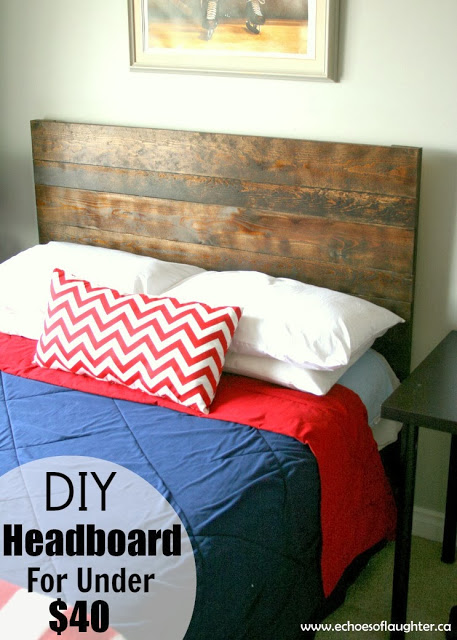
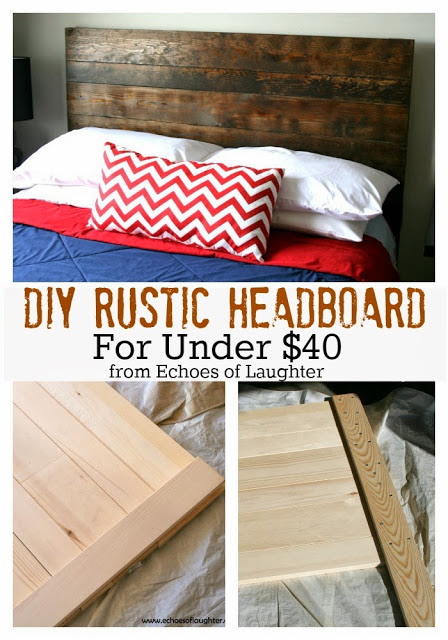
Step 7. Paint or Stain. Here’s where you can have all sorts of fun and paint, stain or stencil the headboard to make it your own. I stained this headboard with some dark walnut that we had leftover from another project.
I absolutely love this headboard in my son’s room. It simple and rustic and looks amazing with the new wall colour and bedding. And I am so pleased that it only cost around $40 to make!
293























Great job, Angie! I'll bet he loves it, especially since he participated. When my kids were teens and we redid their rooms I had them help, too. From the planning point {color, what they wanted/needed} to actually putting it into action. I think it gives them a sense of pride about the space and helps make it theirs.
thank you for this! i really want to do this.
I love the headboard! The colour of the stain is fantastic. We actually made our own a few years ago because we couldn't find anything suitable in our price range and just a few weeks ago I painted it from purple to white.
I really love the headboard as well as the color! I will definitely try this for my little brother. I hope he will love it!
http://www.womensmovementradio.com/
This is amazing Angie! I love the rustic look of it.
It looks fantastic. I've always liked the rustic barnboard type of headboards and it is nice to know they aren't actually so hard to make or expensive.
I love it! This is such a great project! Pinning!
BEAUTIFUL! I love how you stained the headboard, the deep brown color looks beautiful and the whole headboard looks amazing!
Great job! I am in the middle of 2 tween/teen boys rooms! Will you please post this on my Friday Favorites at http://imnotatrophywife.com
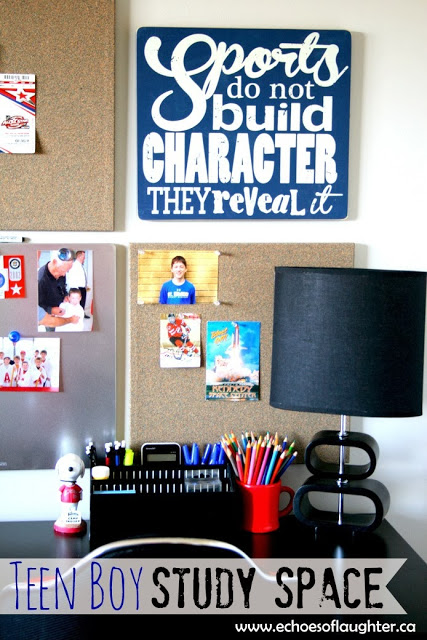
Love it!!! Love the sports sign too! laura
I really need a headboard! Thanks for the idea, it seems simple but looks gorgeous
This headboard is beautiful!!!
Hugs 🙂
I really love the simplicity and rustic feel of this headboard! I made the same red chevron pillow for my son's bed! Thanks so much for sharing it at Work it Wednesday this week!
~Krista from the happy housie
What a delightful blog you have! I love the headboard and would love for you to share at Fridays Unfolded!
Alison
Nancherrow
Thanks for this tutorial! I just finished making a king sized one, stained with a tealish colour. A bit of ocean for this NL girl, transported to AB 😉
Thanks for this tutorial! I just finished making a king sized one, stained with a tealish colour. A bit of ocean for this NL girl, transported to AB 😉
Thank you for sharing – this idea was perfect and so easy… Just what I needed for a cottage bed! A whitewash stain on pine has the perfect shabby chic and rustic look!
What a great idea! This looks fabulous and didn't cost much at all. I love it. My son doesn't have a headboard and this would be perfect, thanks for sharing this.